Slat Wall with P-System
How to create a pre-finished slat wall using two different finishes
How it works:
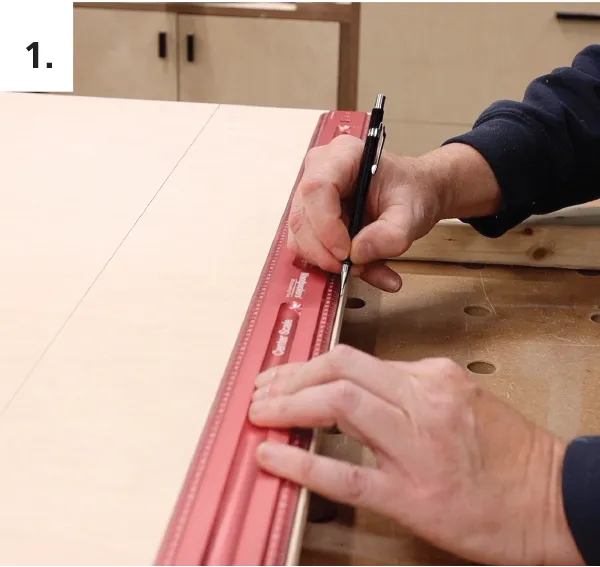
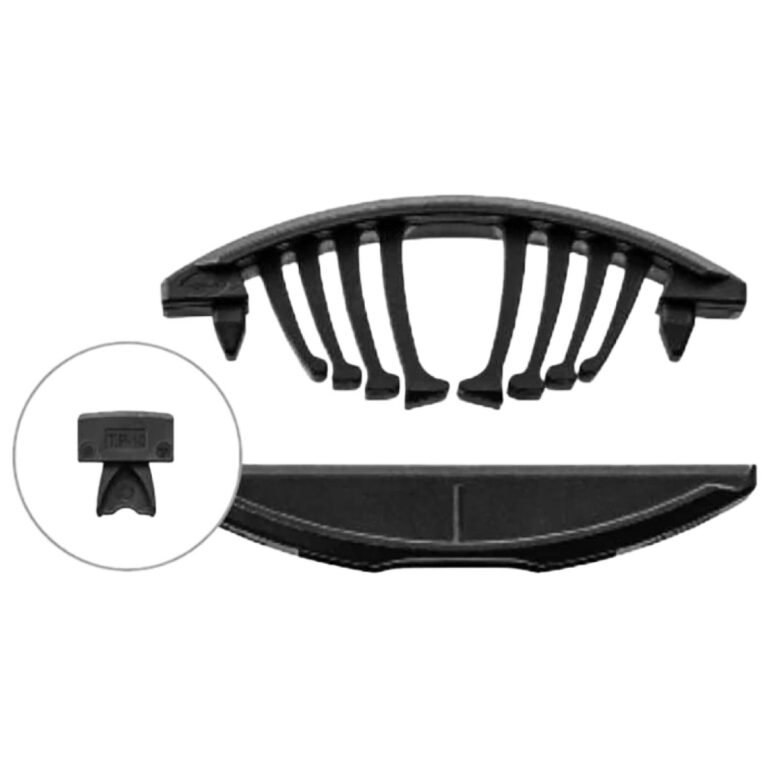
Determine and mark spacing for Tenso connectors
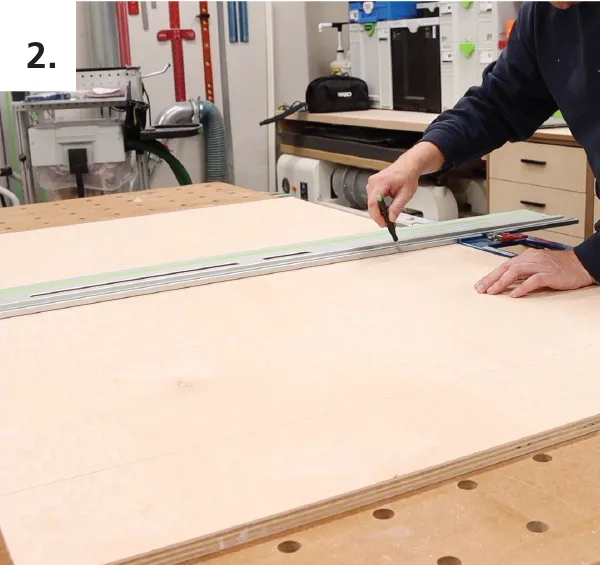
Determine and mark spacing for each slat based on material thickness and reveal
Extend marks for reference on top and bottom
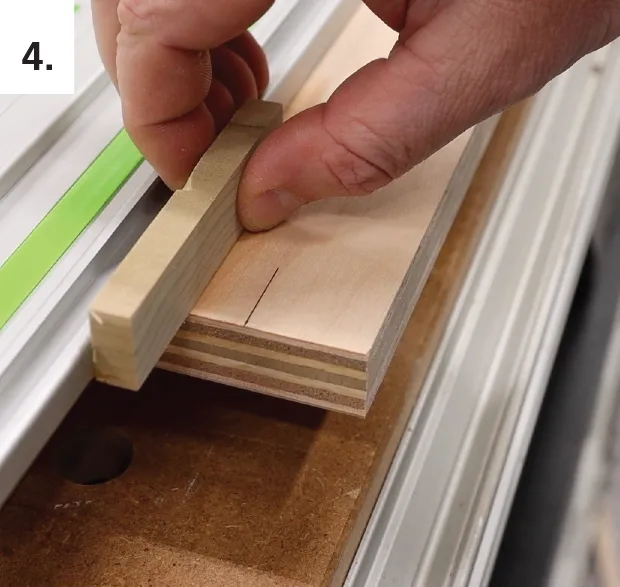
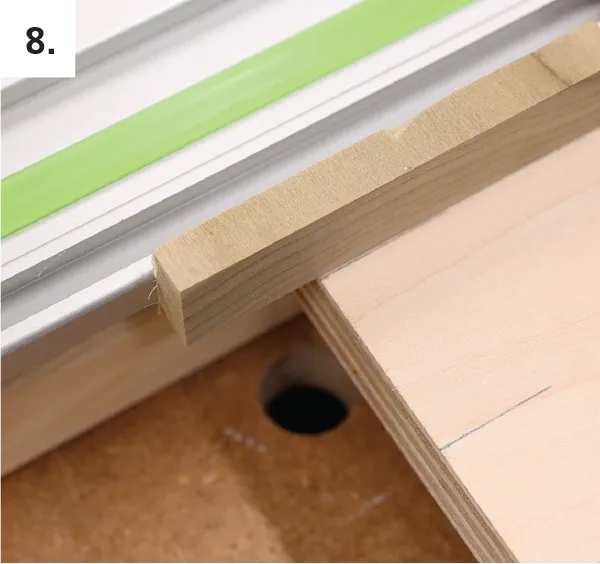
Using a piece of scrap wood, cut spacers to match your reveal
Connect spacers to a straight edge with hot glue near the ends of the backer material
Align spacers with reference marks and clamp in place
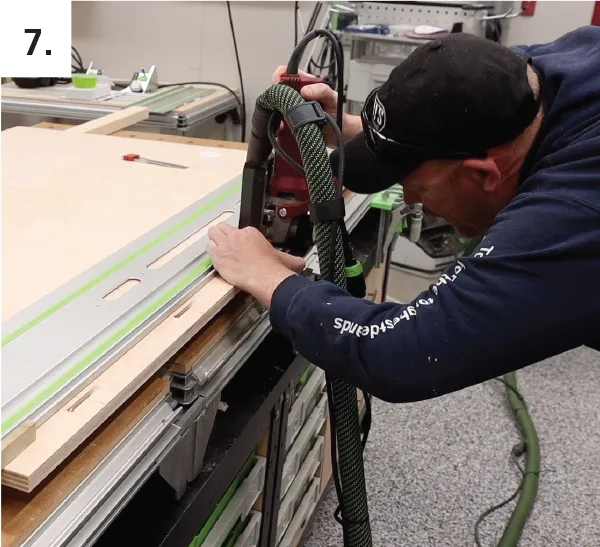
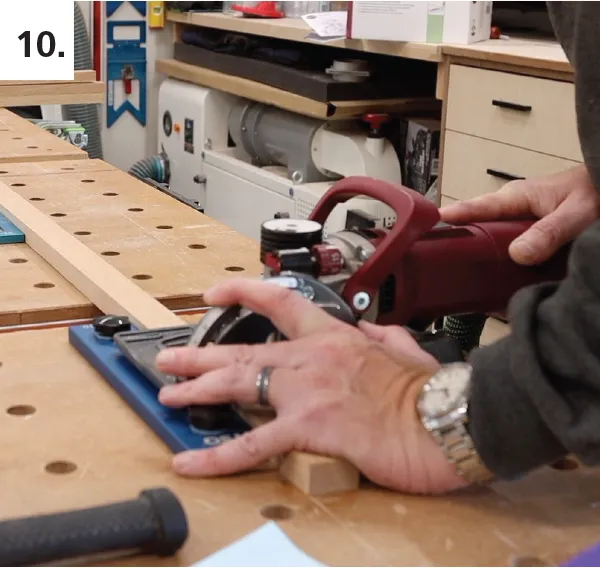
Use the center marks for the Tenso connectors and make plunge cuts
Unclamp and repeat at each slat location on backer sheet

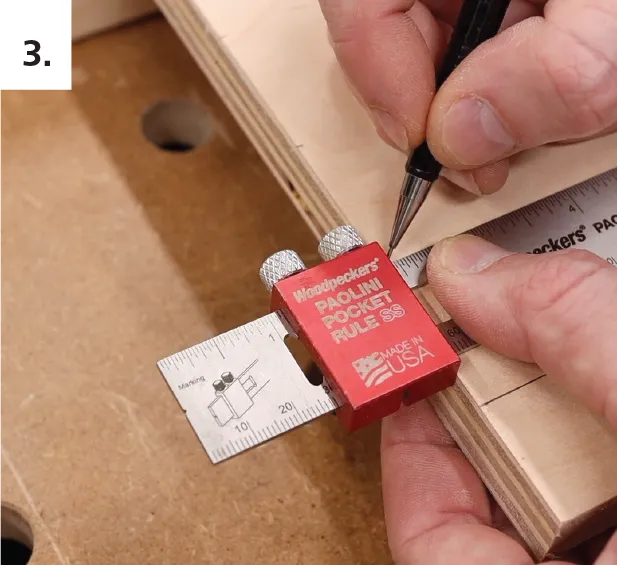
Mark the center line of slot locations on the slats
Make plunge cuts on the slats
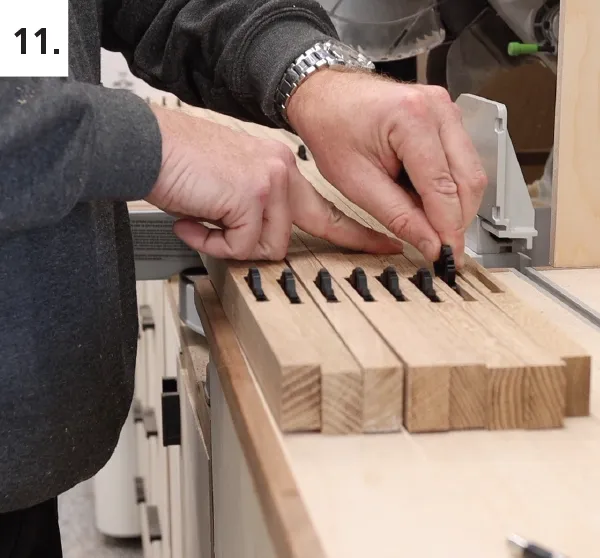
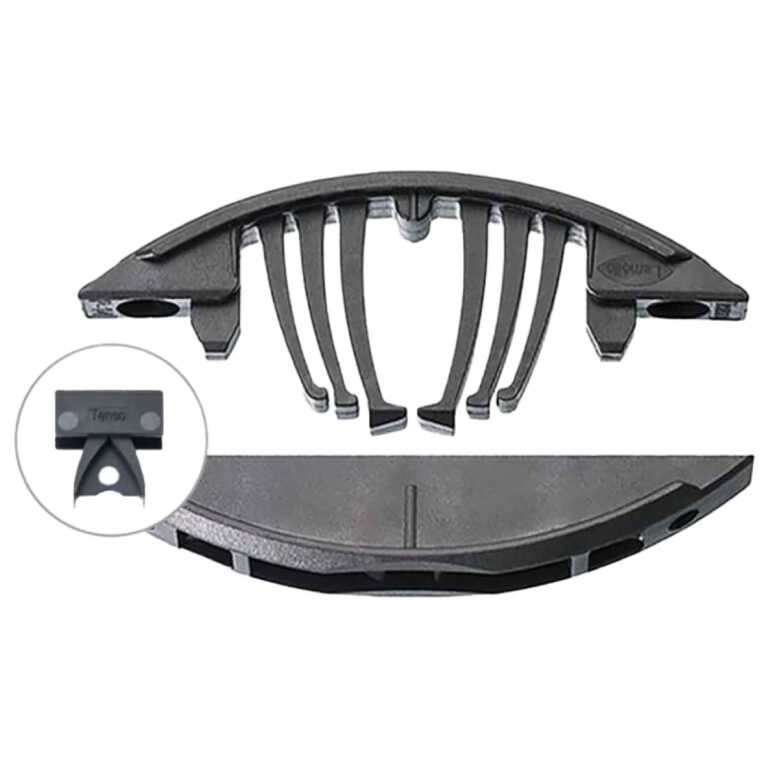
Install Tenso connectors on slats and backer board
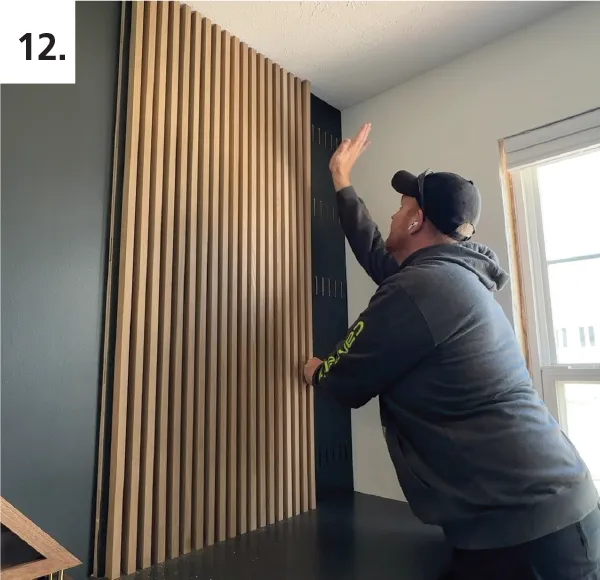
Snap slats into place on finished project