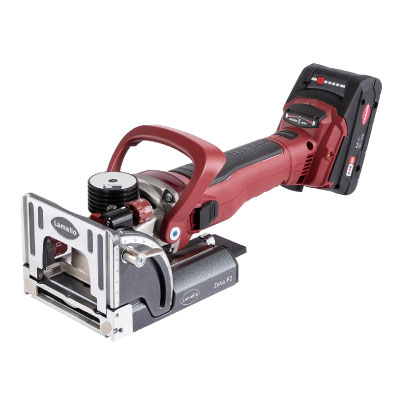
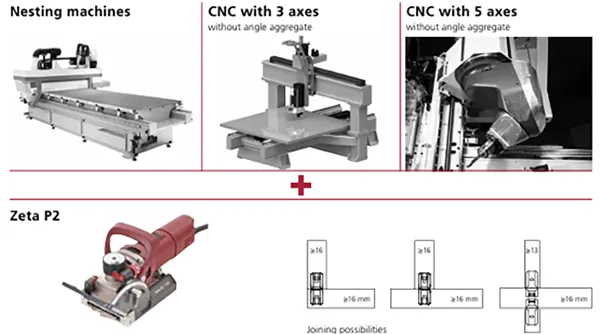
Great combination of CNC machines and Zeta P2 and Zeta P2 Cordless
Tips and Tricks for using Lamello’s P system with your CNC machines.
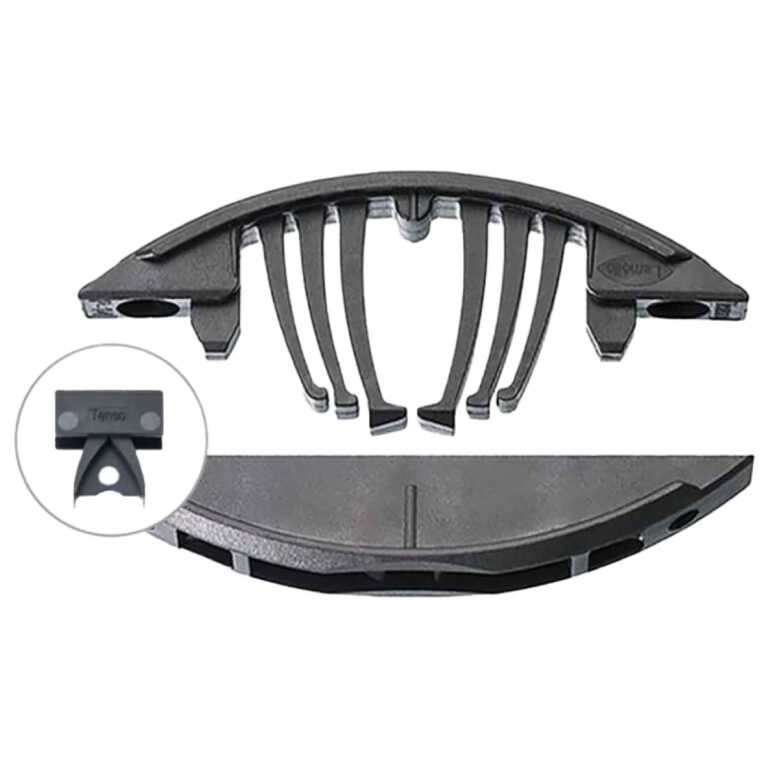
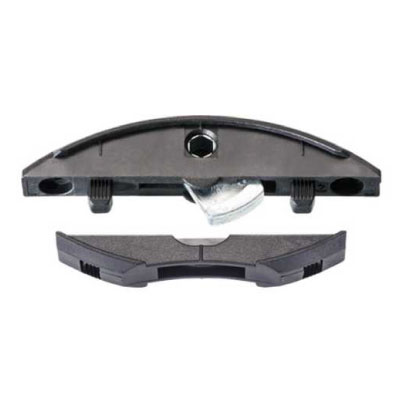
How it works: P-System Groove in Surface
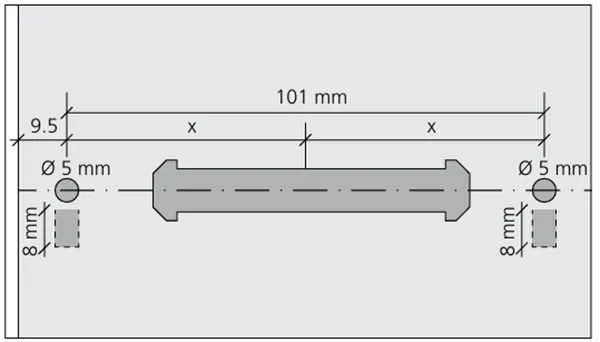
Position of drill holes, ø 5 mm / ø 8 mm
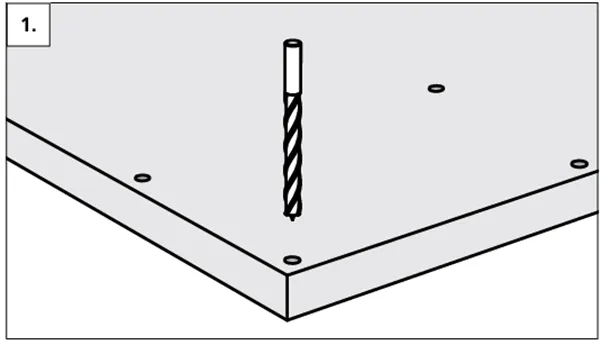
Drill positioning holes with a CNC, ø 5 mm / ø 8 mm
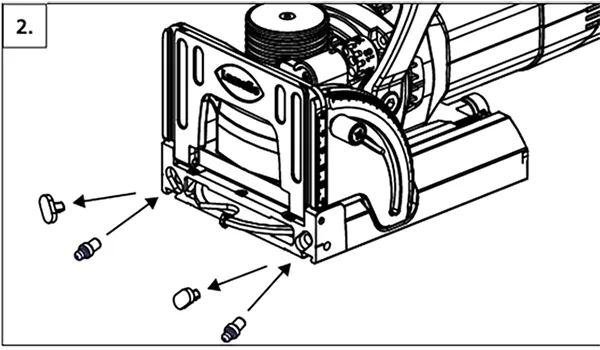
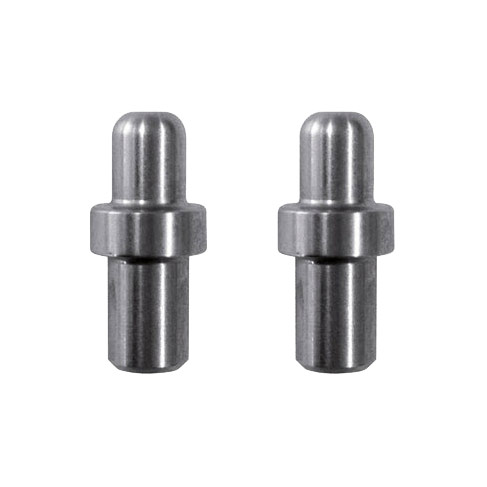
Insert the positioning pins into the Zeta P2
Position the machine in the holes
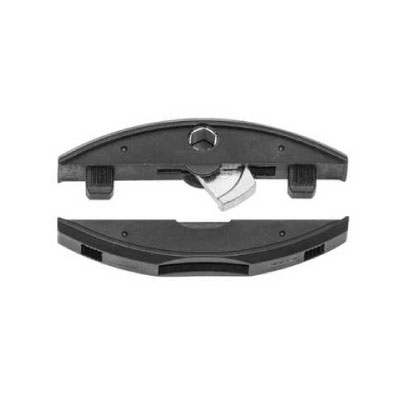
How it works: P-System Groove in Edge
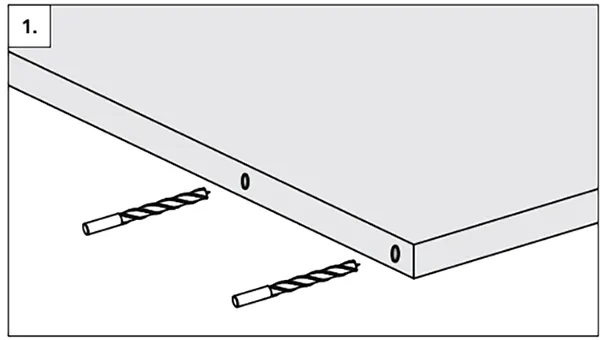
Drill positioning holes on a CNC, ø 5 mm, ø 8 mm into the edge
Insert the positioning pins into the Zeta P2
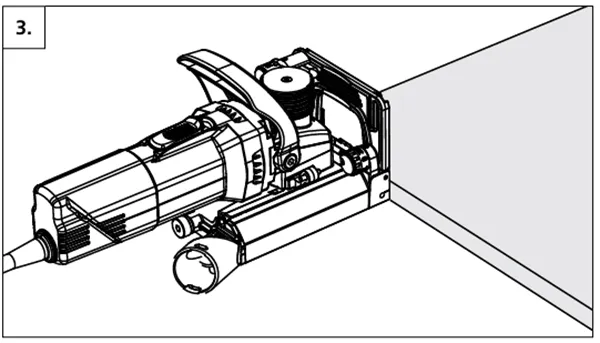
Position the machine in the holes
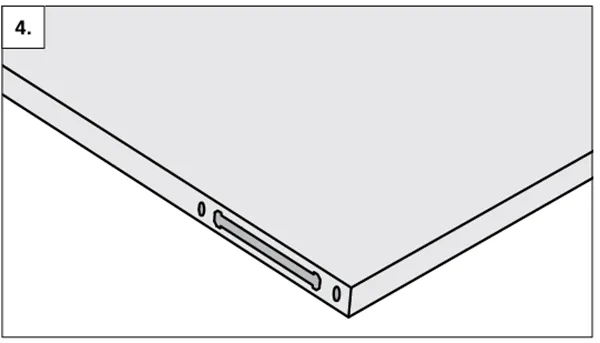
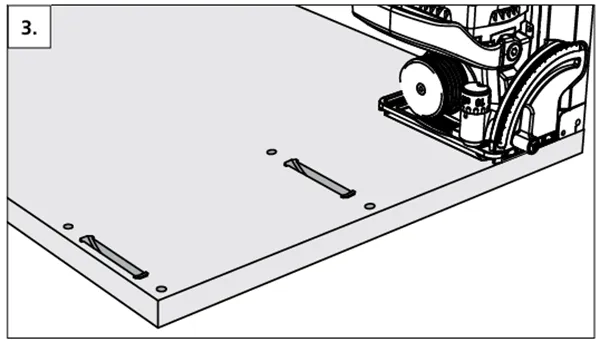
Finished P-System groove