Removable Pocket Door Jambs With Clamex S-20
How to create removable pocket door Jambs
How it works:
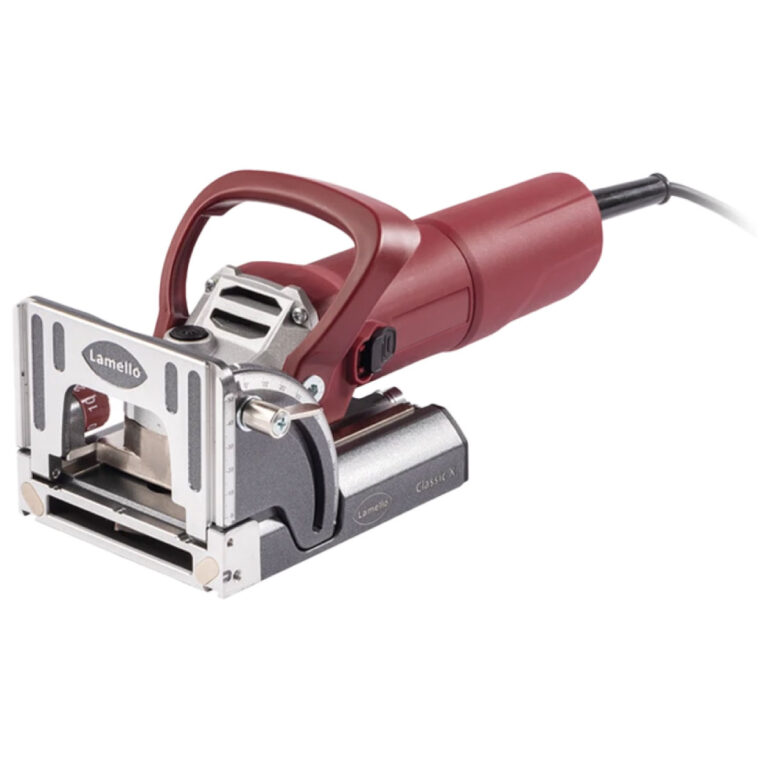
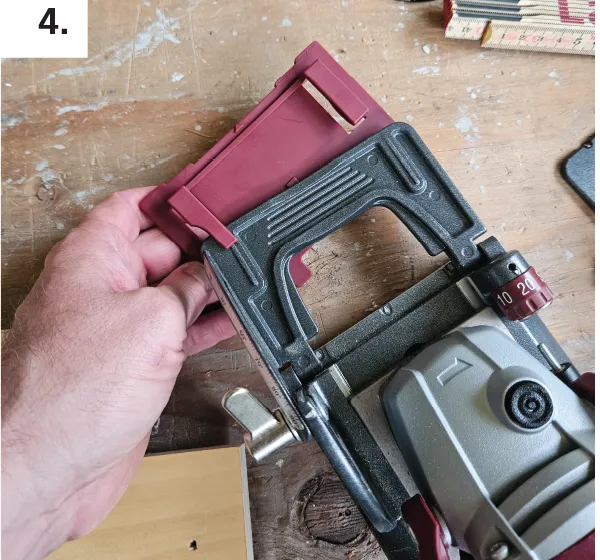
Back-bevel the long jamb leg
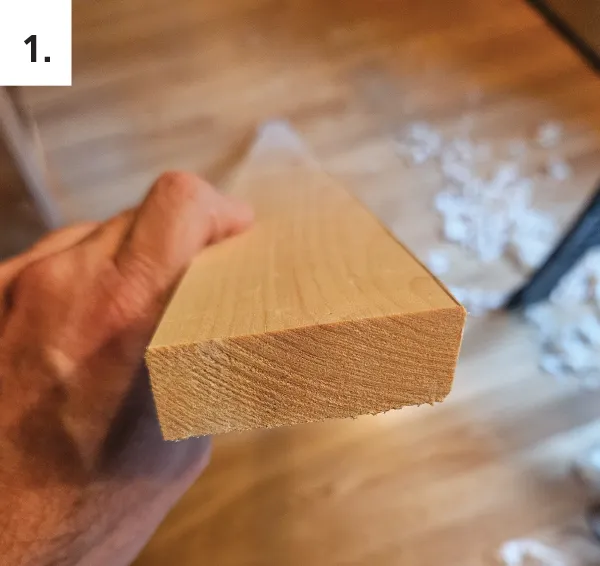
Layout and match connector slots on edge of jamb leg and back side of casing
Determine slot position in jamb and casing
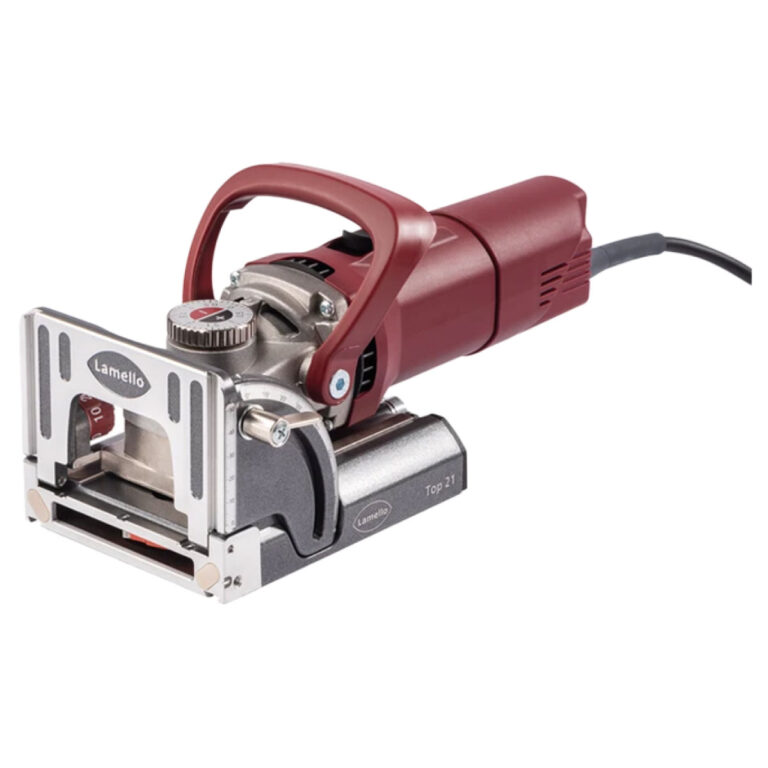
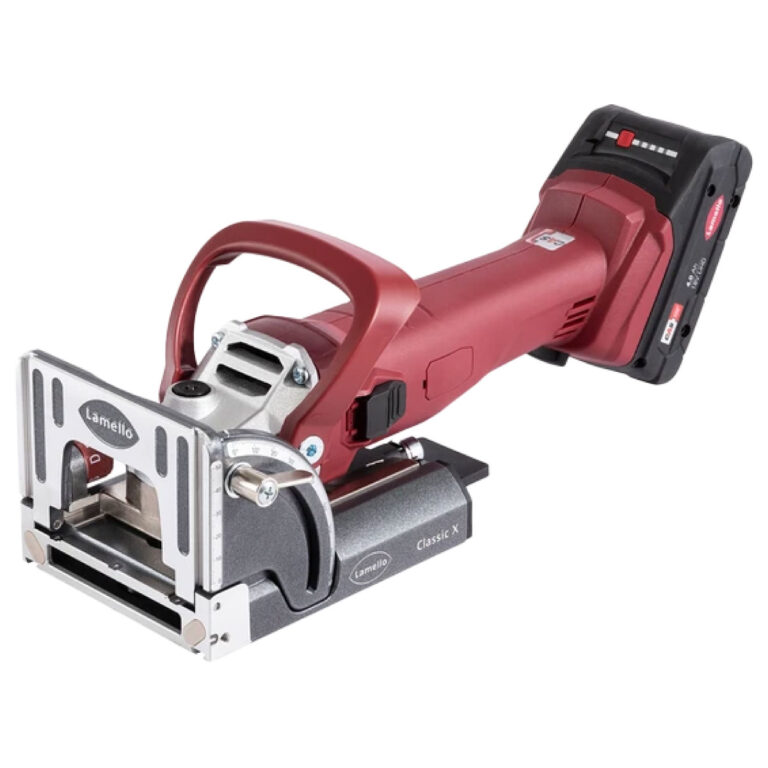
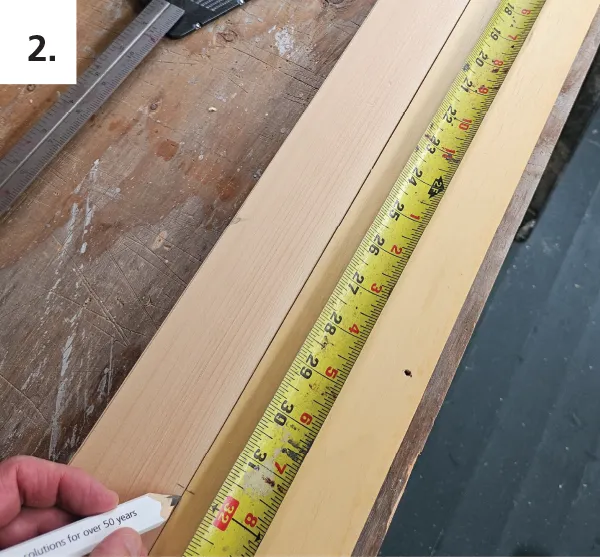
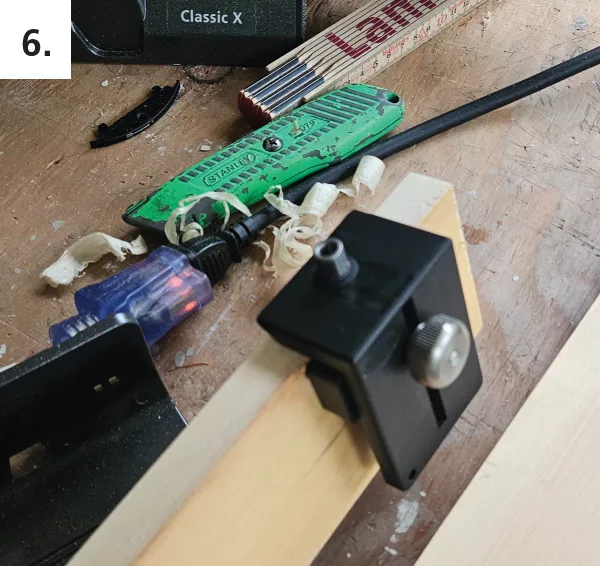
Set biscuit joiner to “20” and use spacer plates or stop square to achieve desired slot height

Machine #20 slots in jamb and casing
Drill 6mm holes for male connector halves using alignment tool or drill jig
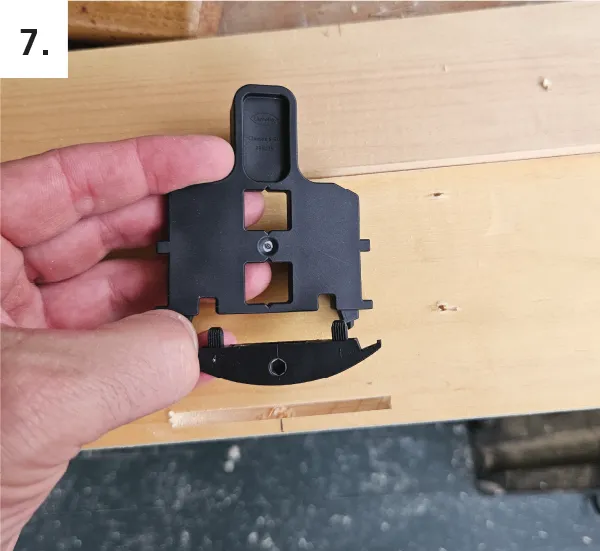
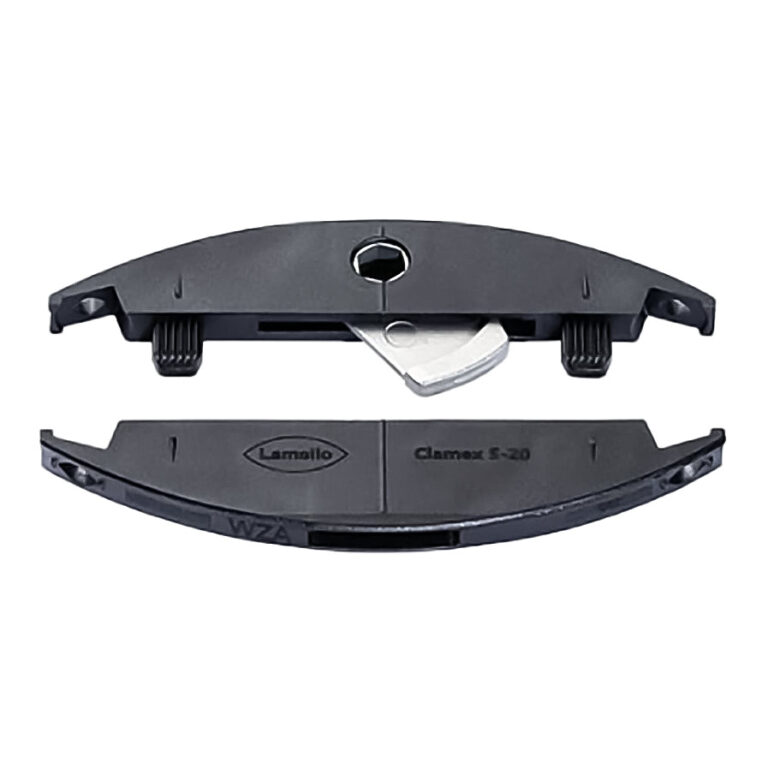
Place Clamex S-20 connector onto alignment/insertion tool
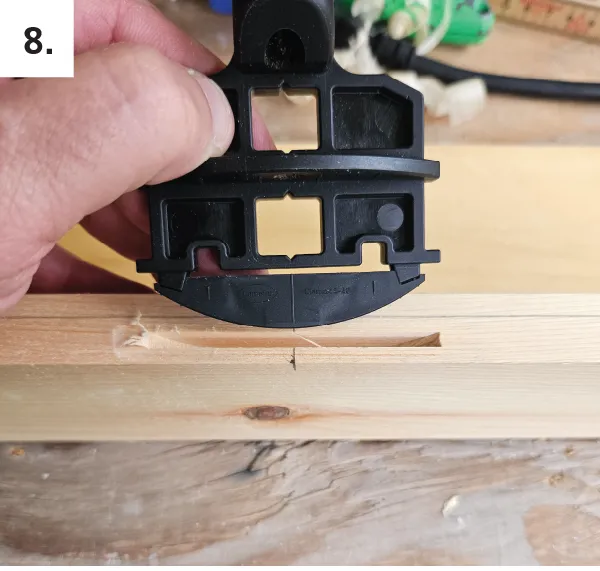
Use center mark on alignment tool to install connectors
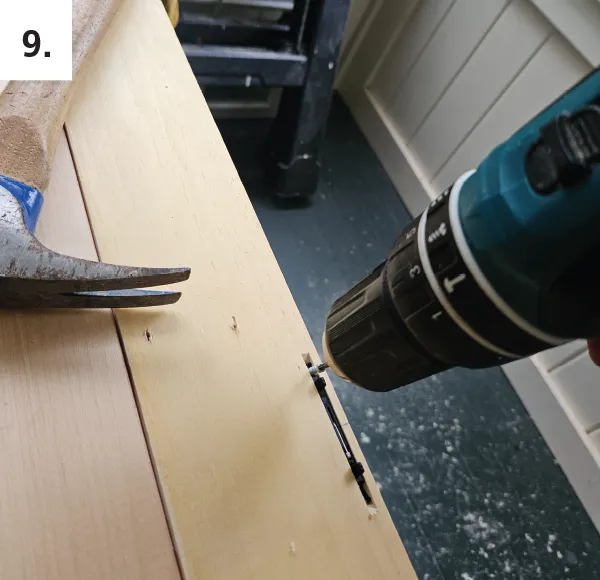
Screw each connector half into place (both screws at same time to keep alignment centered)
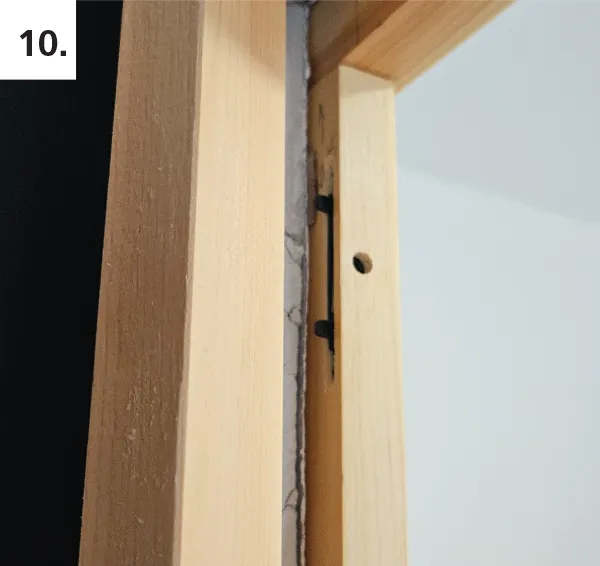
Hinge the jamb leg into place behind casing, using beveled edge against pocket door
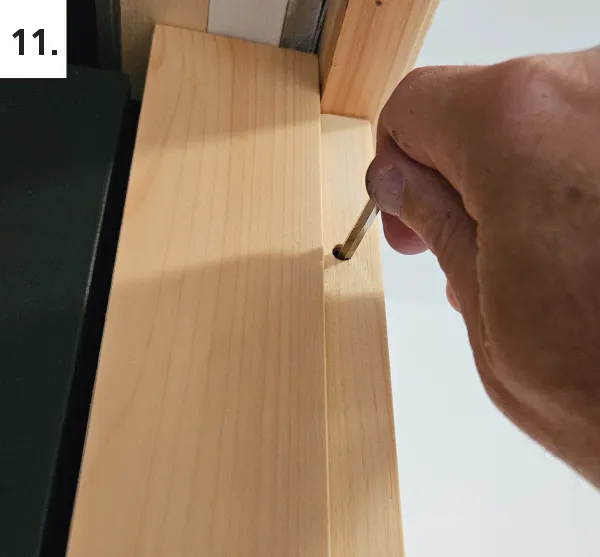
Engage cam lock, joining the connectors in the jamb and casing
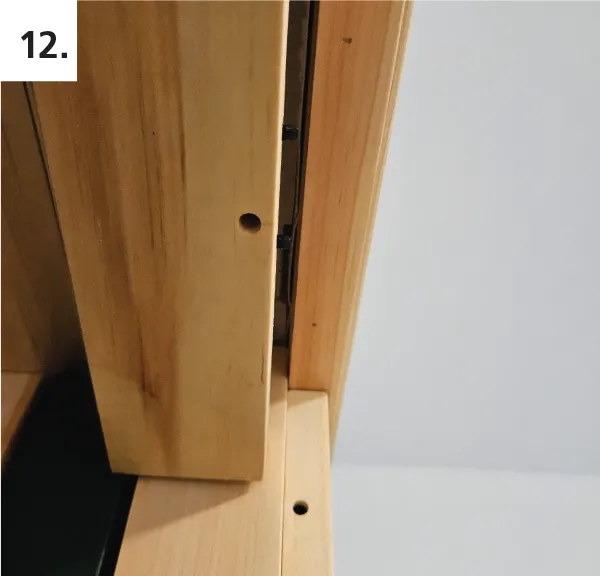
Repeat all steps above (except for back-beveling) to install header jamb – Use cover caps if desired